

Authorize Rillet Connection
This guide explains how to connect your Rillet environment to Stacksync.
1. Generate an API Key in Rillet
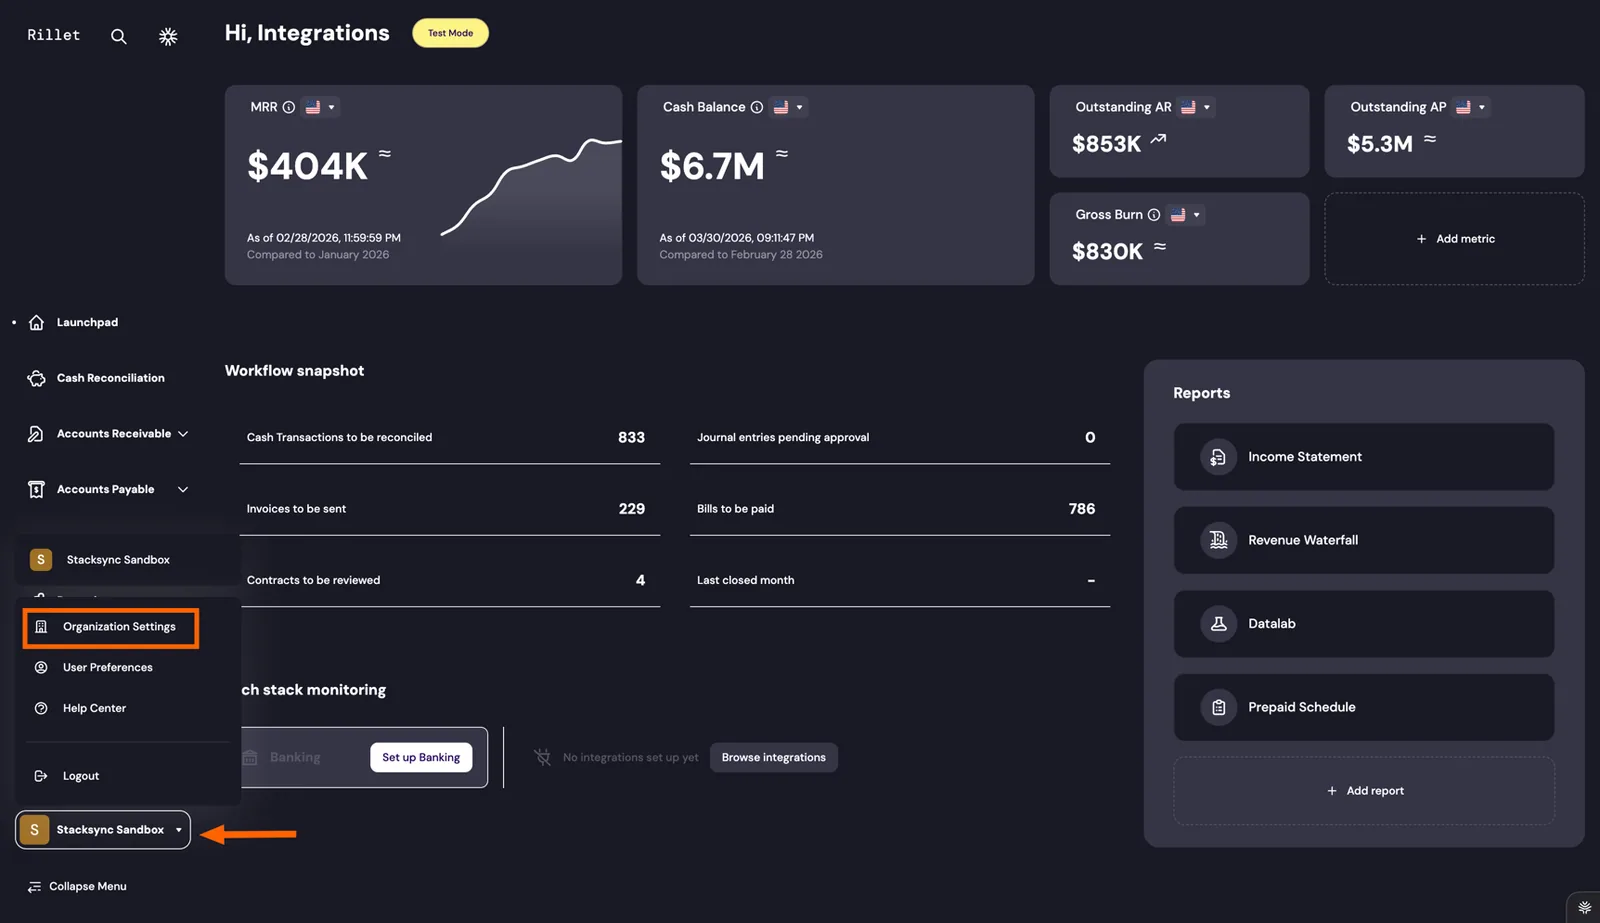
- Login to Rillet App
- Navigate to Organization Setting -> API Access
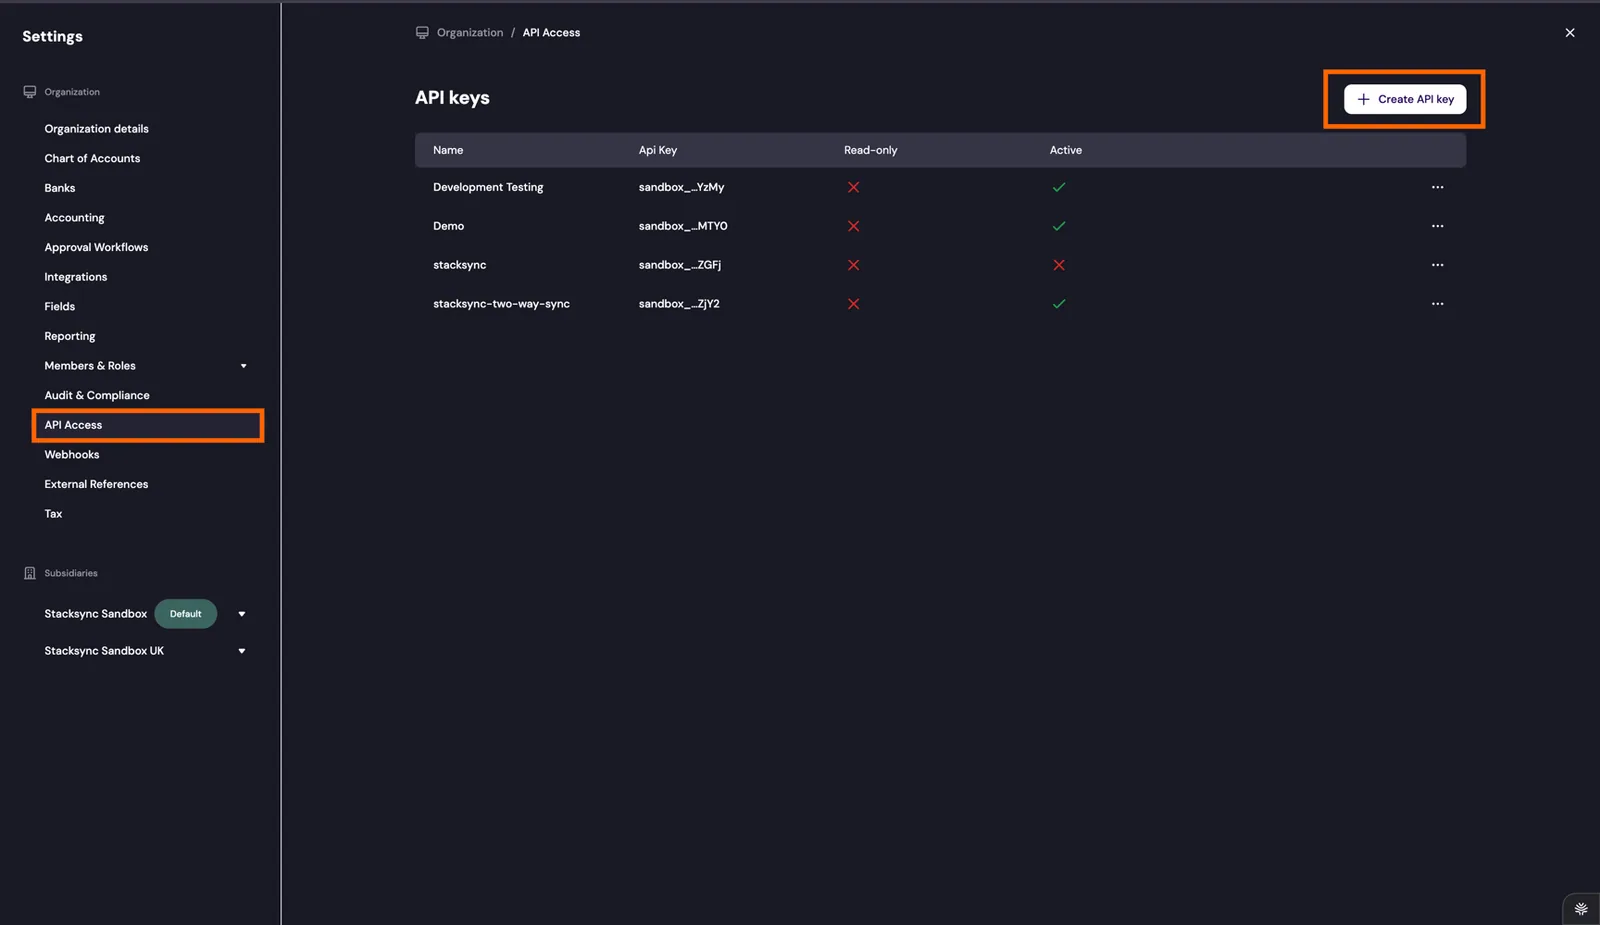
- Click on Create new API key
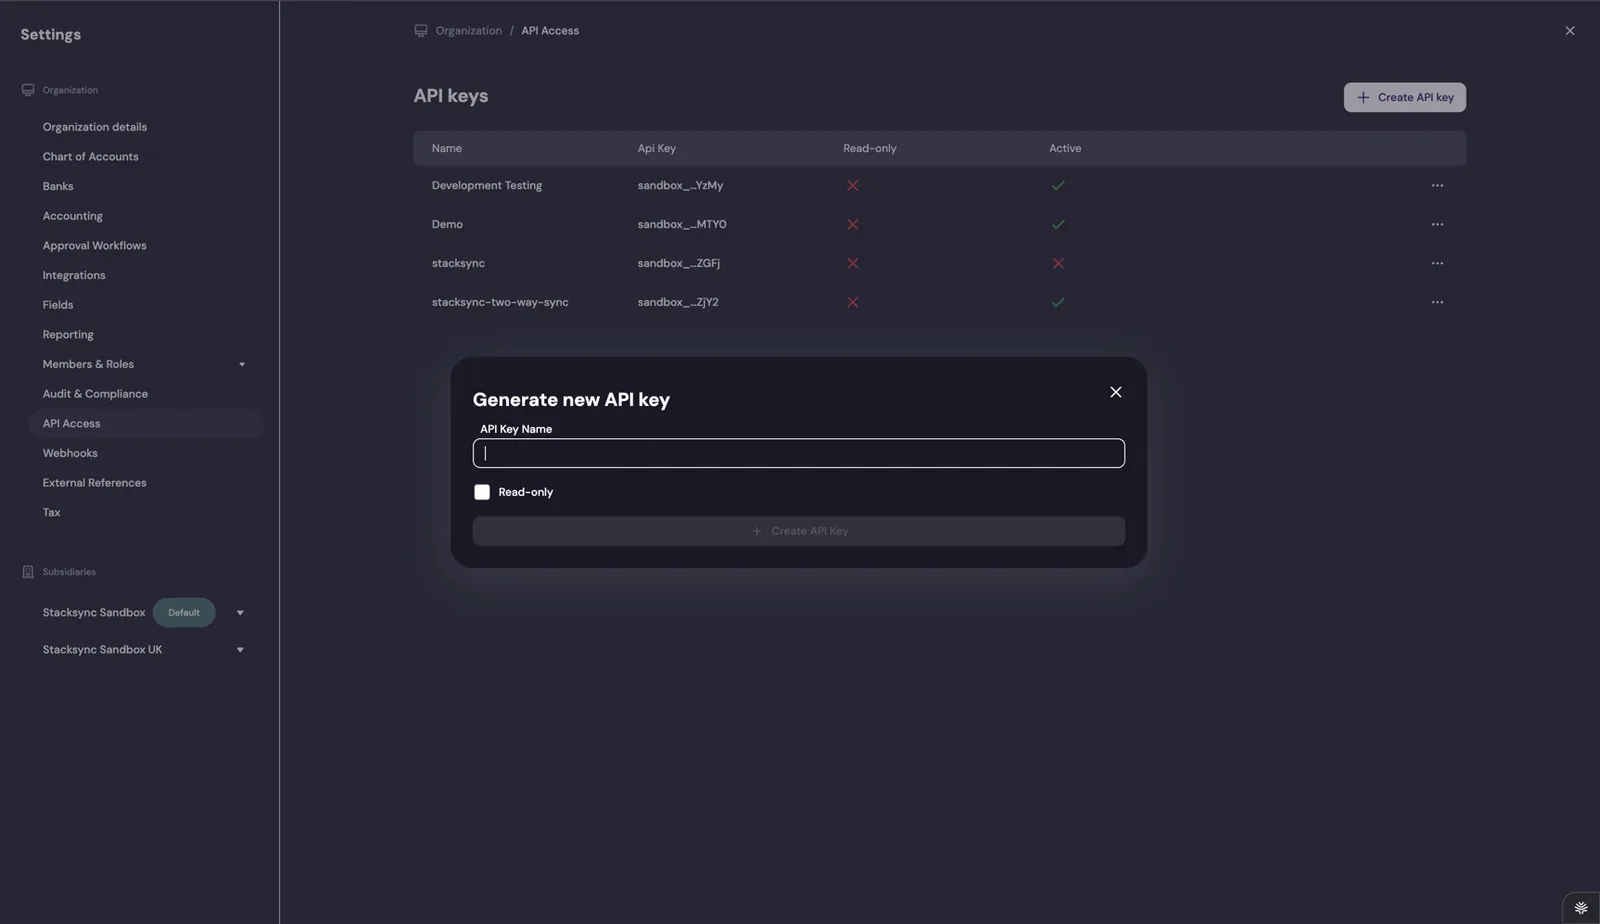
- Enter a name for the API Key
a. Enable full access (read/write): Uncheck Read Only to allow bidirectional sync.
b. Enable read-only access: Check Read Only for one-way sync.
5. Copy the secret key generated.
2. Create a Connection in Stacksync App
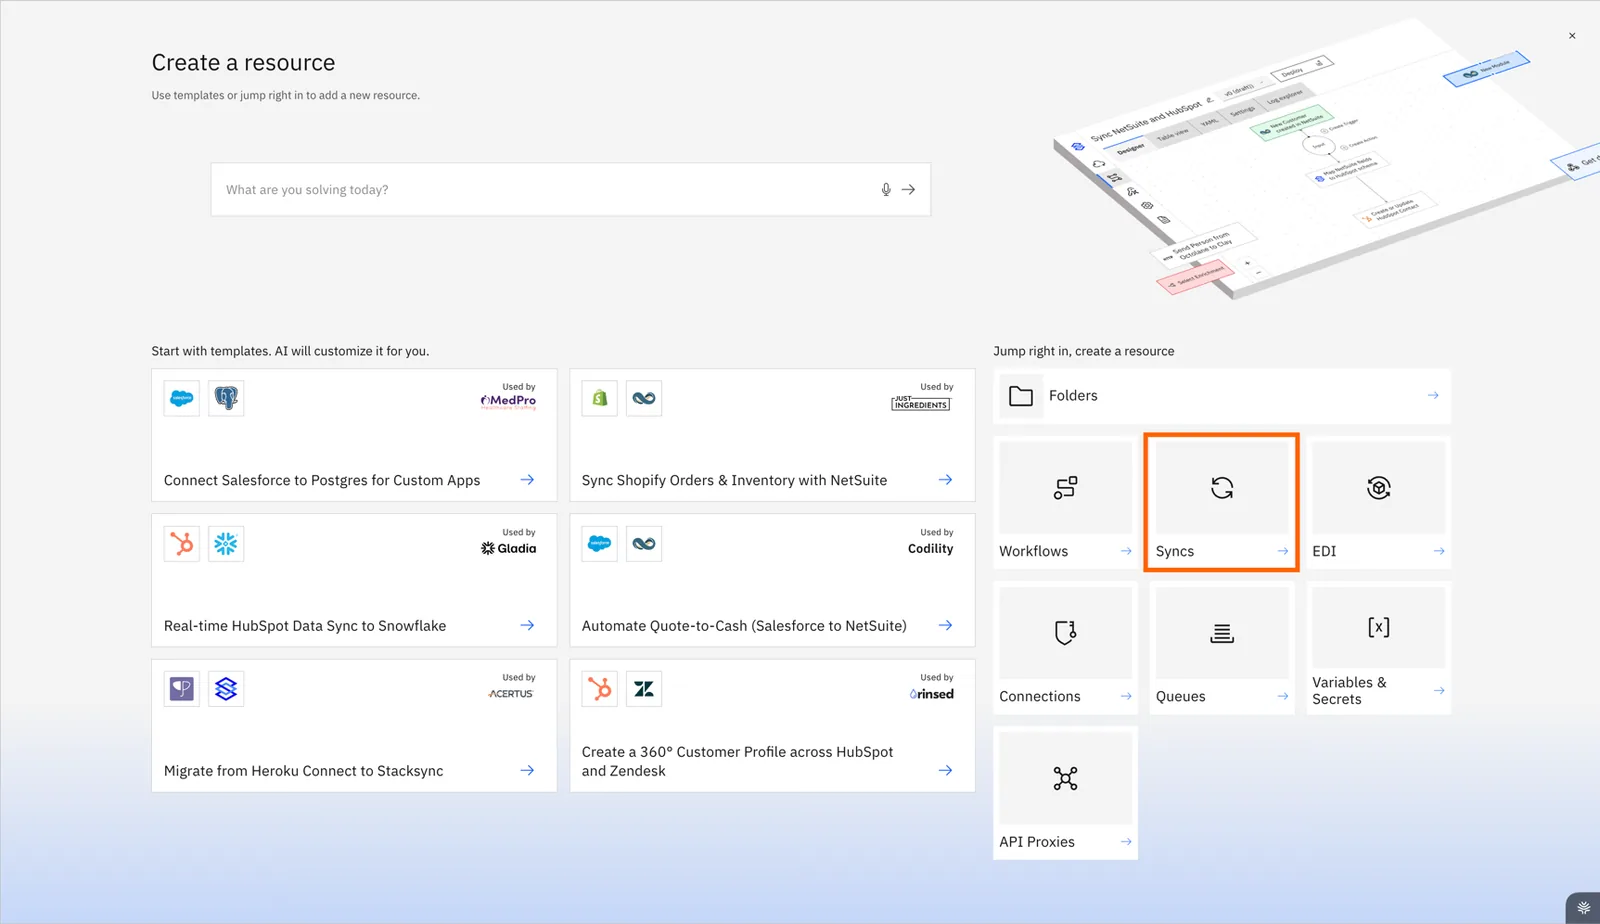
- Click Create Resource
- Select Syncs
- Choose the Rillet connector
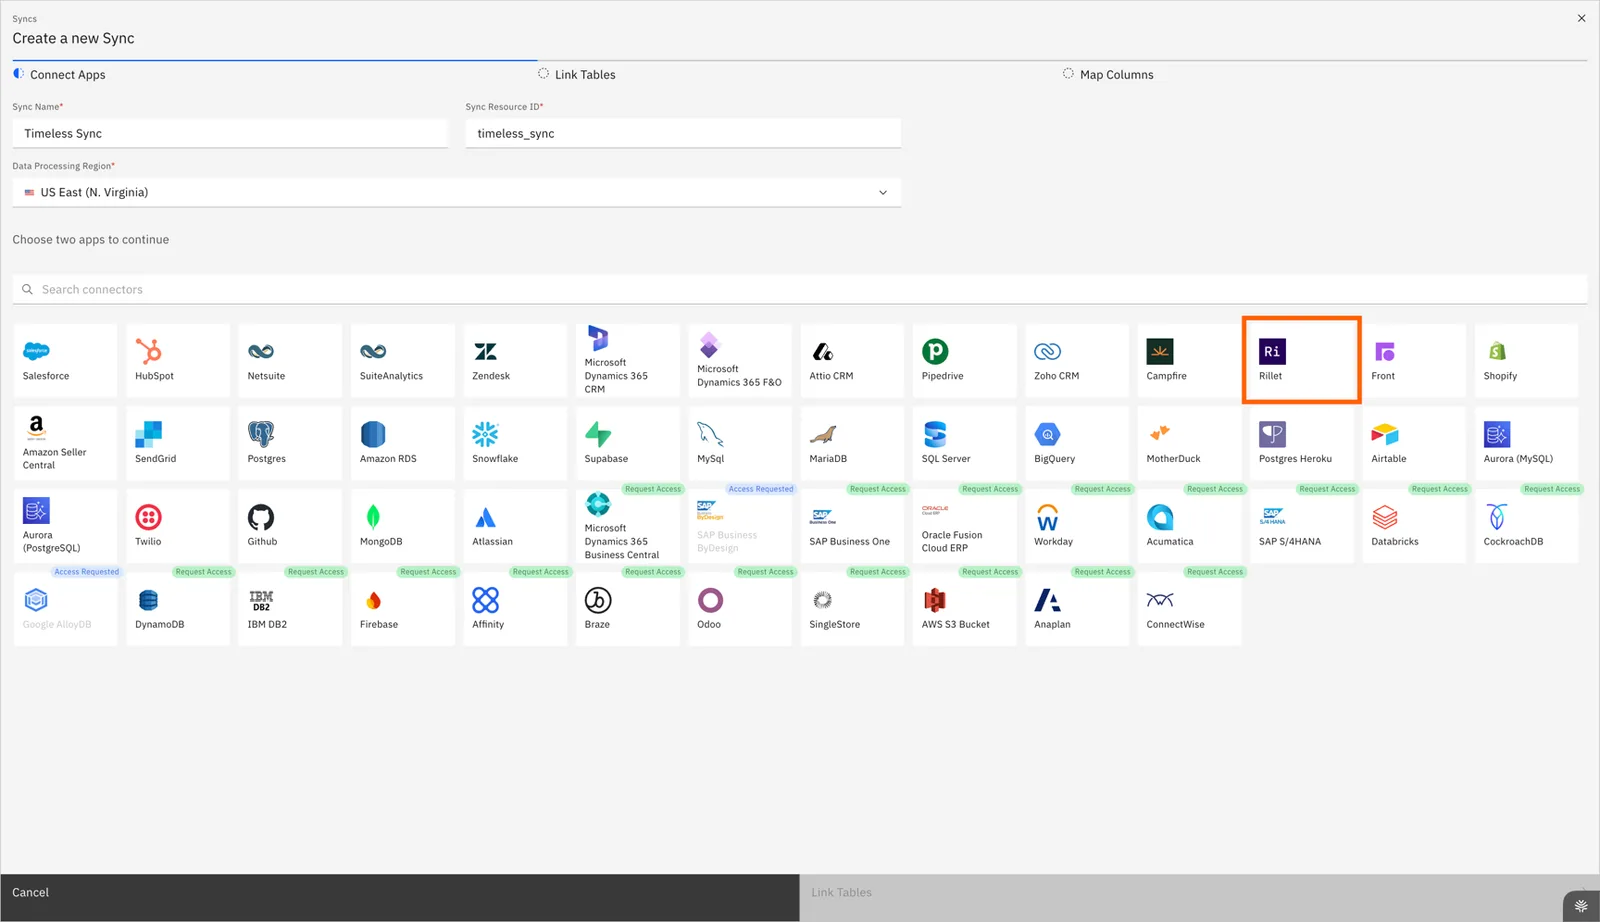
This opens the authorization flow.
3. Complete the Connection Setup
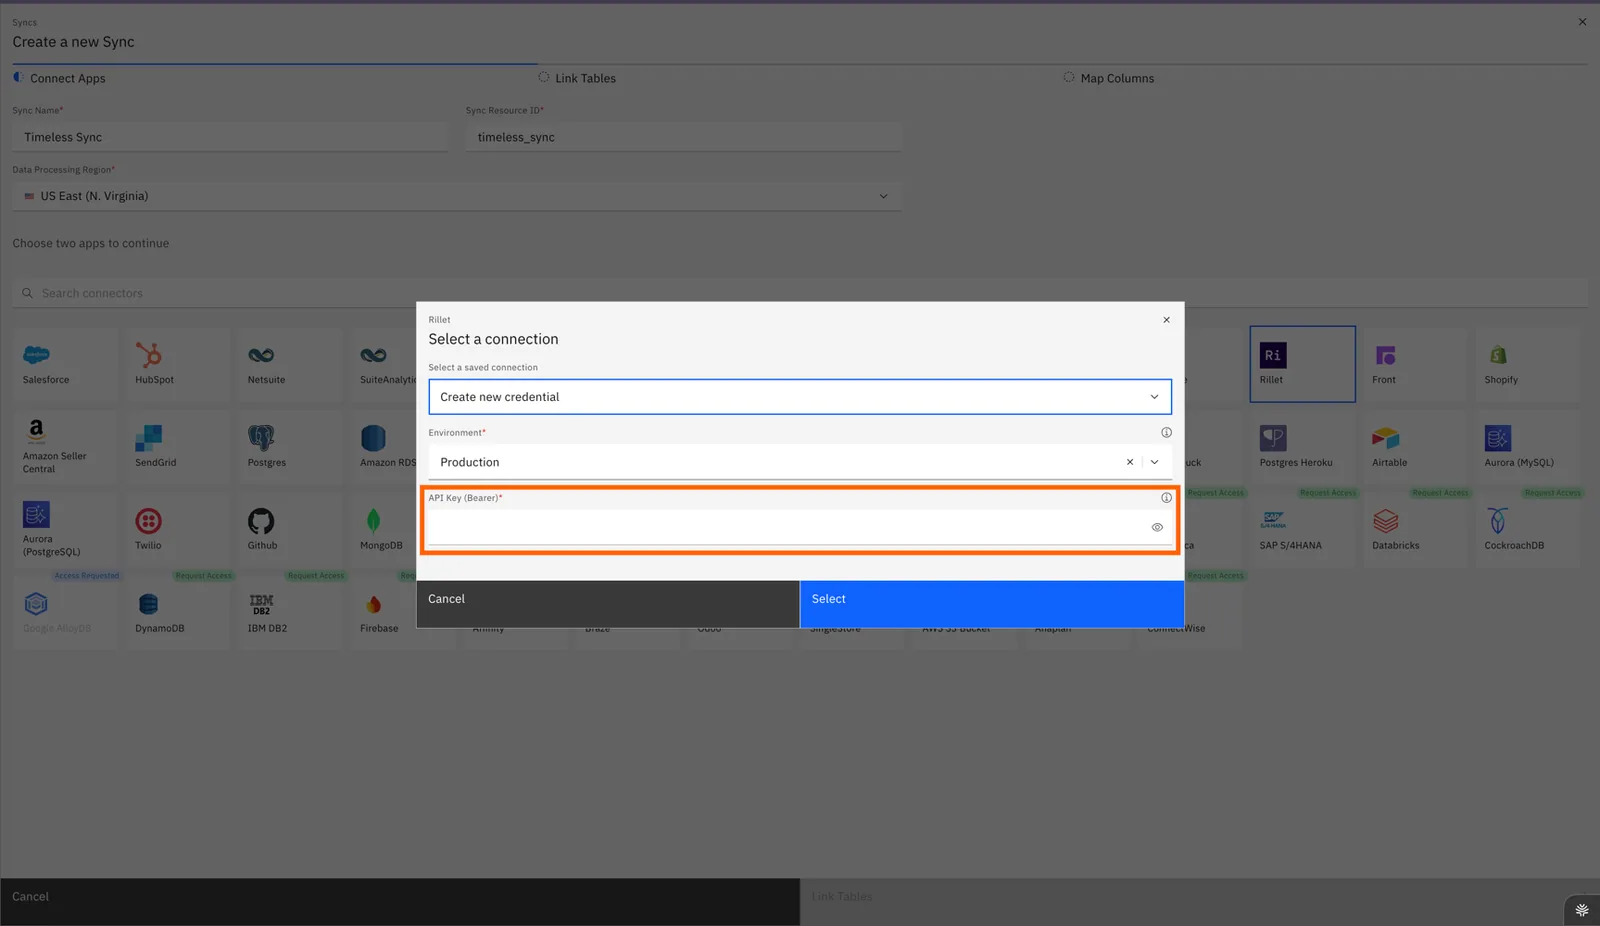
- Provide the Rillet API key generated in Step 1.
- Follow the on-screen steps to finalize the connection
If you have any questions or run into any blockers, reach out anytime at hello@stacksync.com and the Stacksync team will be happy to help.