

Connect Acumatica to Stacksync
Connect Acumatica to Stacksync with a connected application.
Create an Acumatica connection in Stacksync using your connected application credentials.
Before you begin, create an Acumatica connected application.
1. Open the connection setup
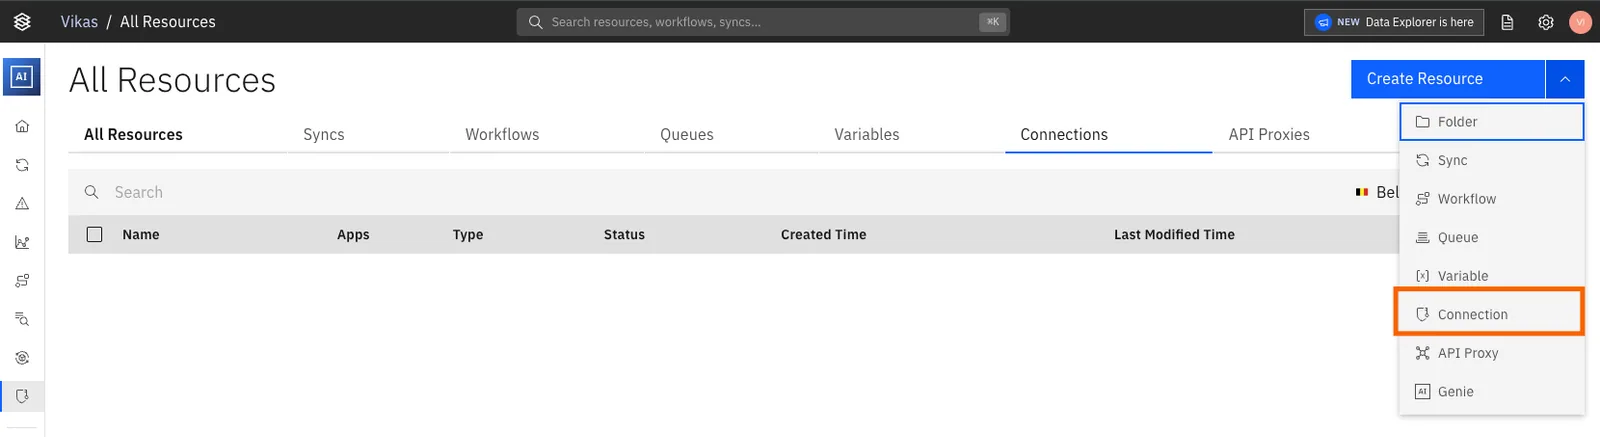
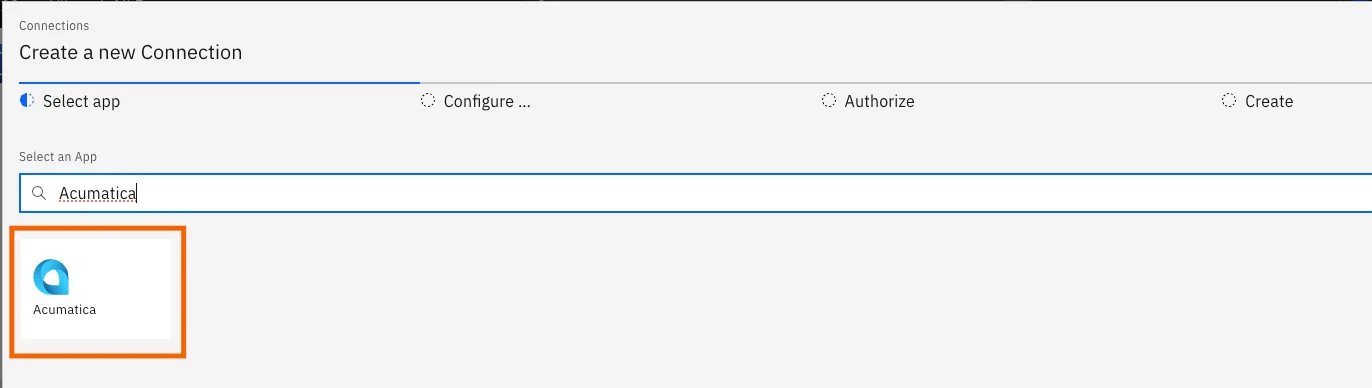
In Stacksync, open Connections. Select Acumatica.
2. Enter the Acumatica connection details
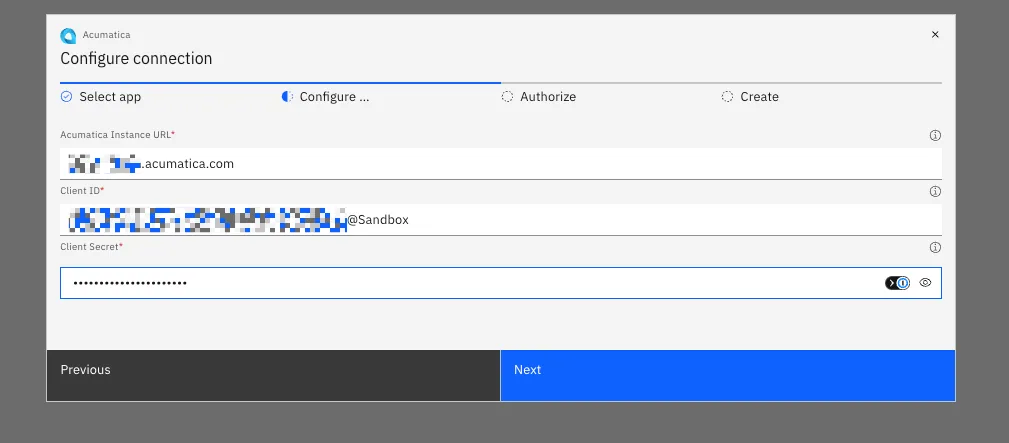
Enter the following values:
- Acumatica instance URL
- Client ID
- Client Secret
Use the Client ID and Client Secret from the connected application.
Select Next. Stacksync opens the sign-in page for your Acumatica instance.
3. Authorize the connection
Sign in to Acumatica.
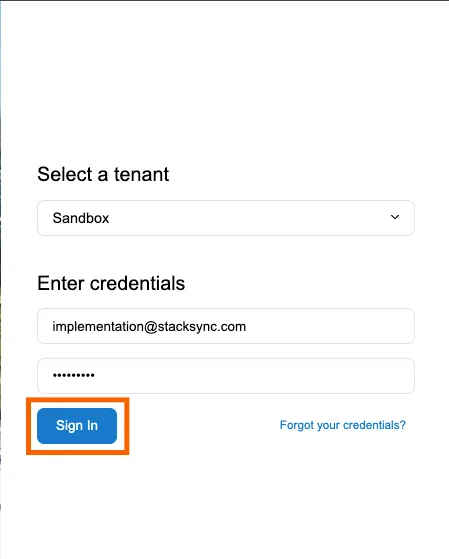
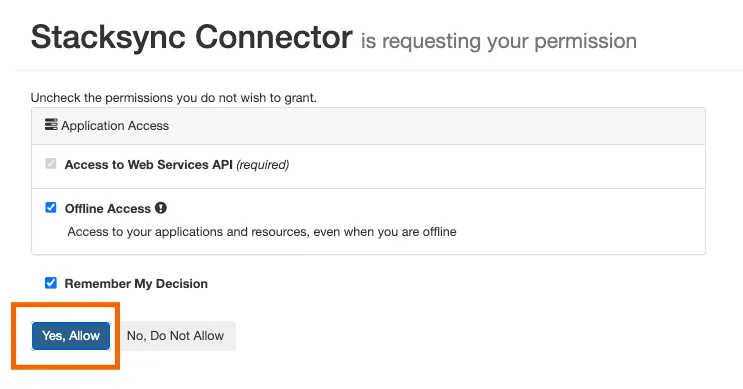
Approve Stacksync's access request.
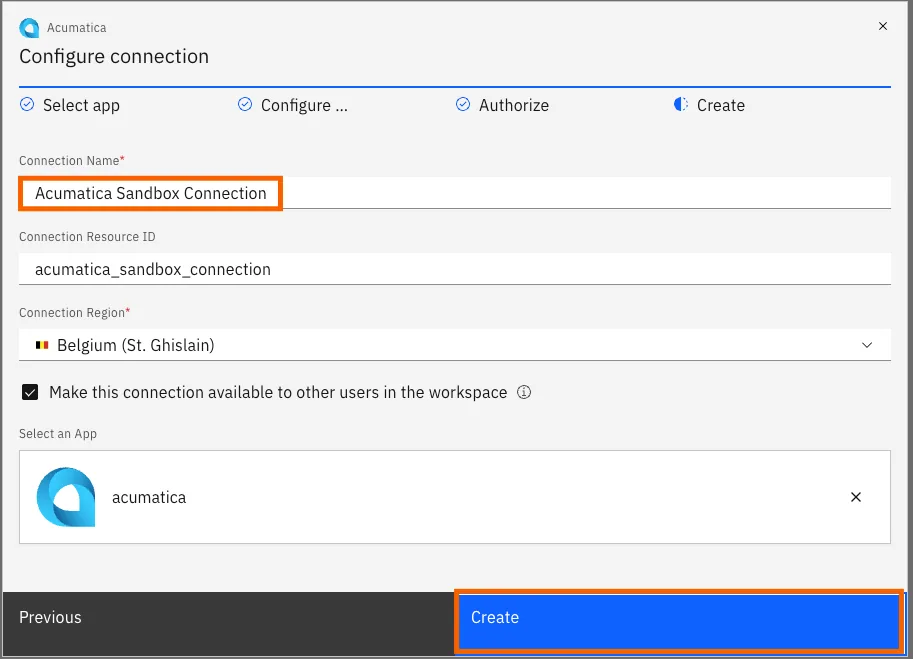
Acumatica redirects you back to Stacksync. Enter a name for the connection, then select Create.
4. Use the connection
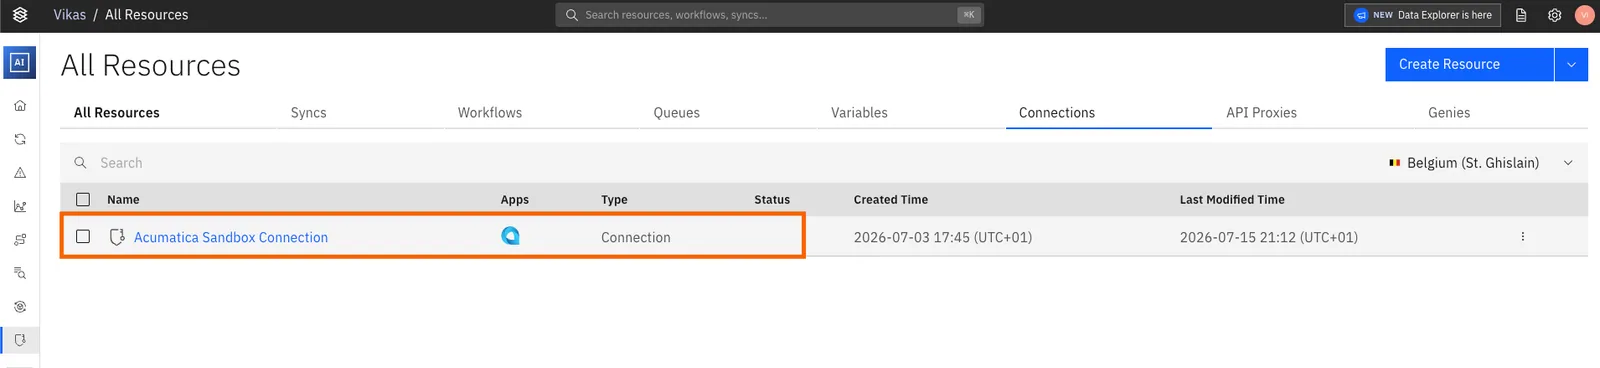
Use the same connection with either option:
If you have any questions or run into any blockers, reach out anytime at hello@stacksync.com and the Stacksync team will be happy to help.