

Quick start
Go from a business idea to a live application with a coding agent or the EOS CLI.
Deploy the tool your team needs without setting up a build server or managing application infrastructure. Deploy your first app from the CLI without creating an account. EOS creates a guest workspace automatically. Guest apps are public, and unclaimed workspaces and their resources are deleted 14 days after creation.
Build with a coding agent
For the dashboard workflow, sign in at Enterprise OS, select your workspace, and open Quick start → Build with a coding agent. Describe the outcome you want, select Copy prompt, and paste the prompt into your coding agent. The generated prompt points the agent to the current EOS skill so it can install the CLI, authenticate, provision resources, and deploy.
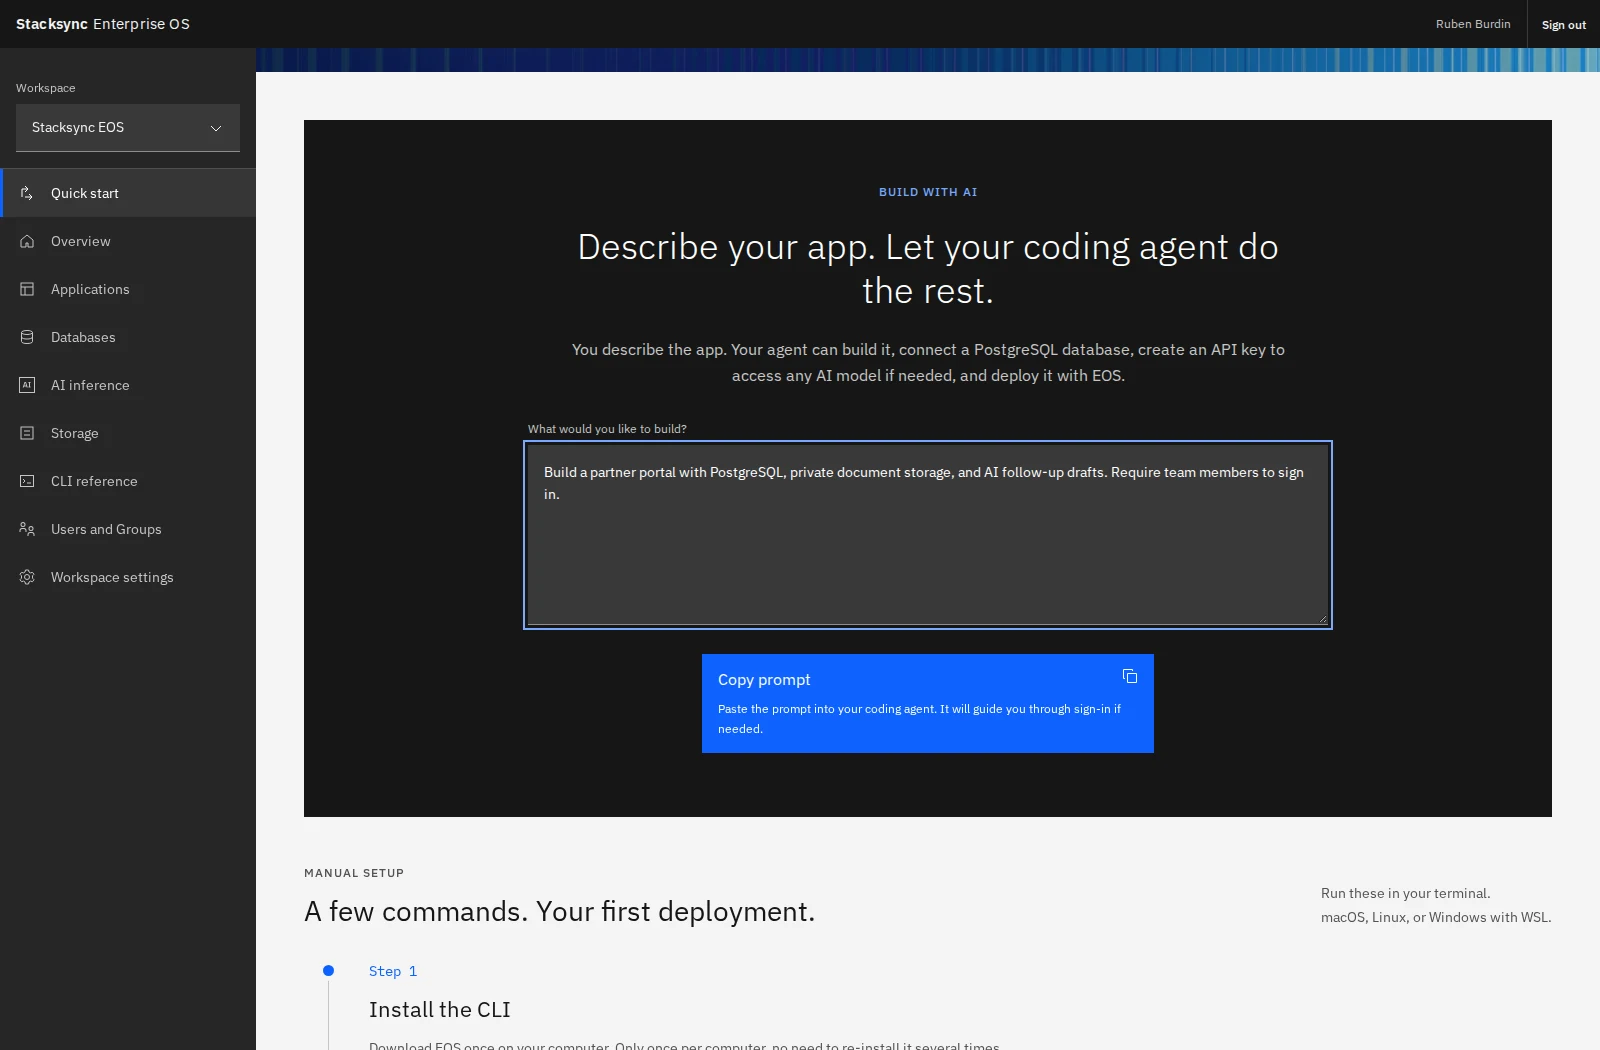
For example:
Build a partner portal for our sales team. Store partners and deals in PostgreSQL, keep partner documents in private storage, and use AI to draft follow-up messages. Require team members to sign in before using the application.
Approve the CLI sign-in in your browser when requested. The agent should keep database credentials and API keys in server-side application configuration, build and test the app, run a dry run, and then deploy it. Once deployed, open its returned URL and check the result.
You can also start your own agent conversation with:
Build and deploy this application using Stacksync EOS:
[Describe the application and who should use it.]

Read https://enterprise-os.stacksync.ai/skill.md and follow its current
instructions. Use eos --help for available commands. Choose my intended
workspace before creating resources. Keep credentials out of source code.
Build and test the app, run a deployment dry run, then deploy and verify it.
Deploy an existing application
1. Install EOS
Run this in a terminal on macOS, Linux, or Windows with WSL:
curl -fsSL https://enterprise-os.stacksync.ai/downloads/install.sh | shOpen a new terminal, then check eos --version. For an existing installation, run eos update.
2. Check and deploy the application
No sign-in is required. If you are already signed in, EOS uses your selected account workspace.
From the folder containing the app's source and package manifest:
cd ~/projects/partner-portal
eos deploy --dry-run --project=partner-portal
eos deploy --project=partner-portal
Your web server must listen on 0.0.0.0 and the PORT provided at runtime. A dry run checks the intended package and configuration without uploading or deploying it.
3. Open the live application
EOS streams deployment progress and prints the application URL when it succeeds. Use that returned URL: EOS assigns workspace-aware addresses, and you do not need to construct one yourself.
Guest apps are public. Keep the local EOS credential files: they let this device manage and claim your workspace. Run eos auth login before the 14-day deadline; the CLI automatically claims the workspace for your new or existing account to keep your resources and invite colleagues. Find the ID with eos workspace current. Claiming preserves the app’s public policy; review managed authentication before sharing sensitive information.
For new apps created in an account workspace, managed access defaults to All workspace members.
Try a starter application
If you want to try deployment before building your own app:
eos project quickstart todo-list deployThis downloads a sample to-do application into a new folder and deploys it in the selected workspace, creating a guest workspace if you are not signed in.
Continue with connecting resources to add a database, AI, or file storage.
Open your selected workspace with eos open. Dashboard links include /workspace/{workspace_id} so copied links retain their context. See workspace URLs and opening EOS.