
Workflows Quick Start
Welcome to Stacksync Workflows!
Stacksync Workflows allows you to automate processes and tasks with enterprise-level security, scalability and performance.
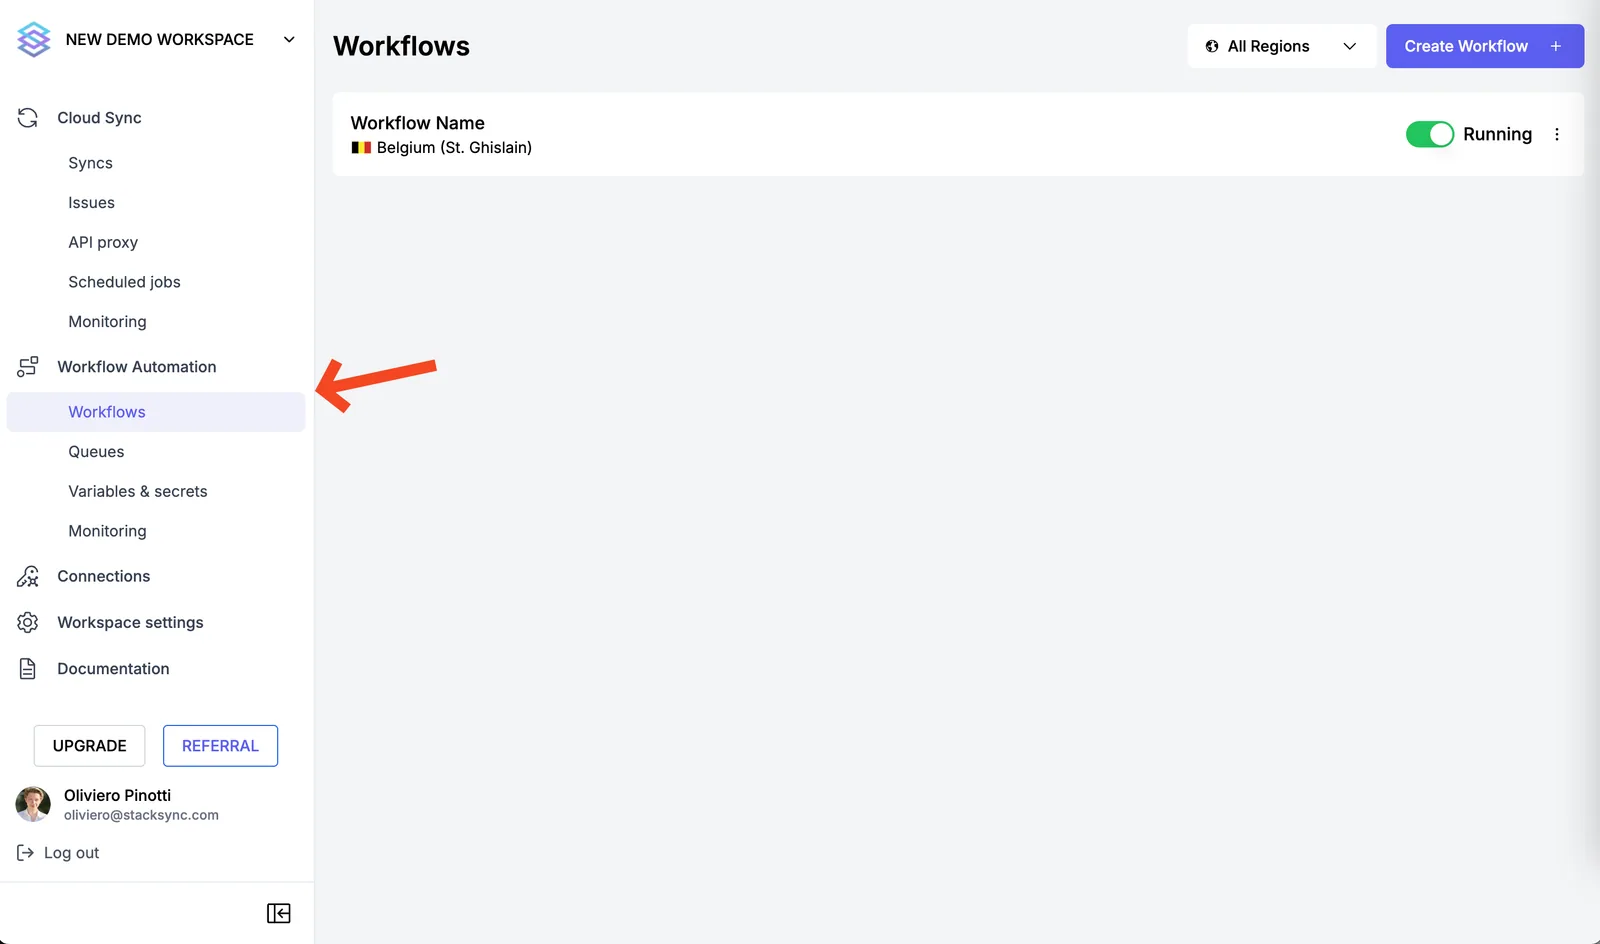
1. Select "Workflows" under the "Workflow Automation" menu.
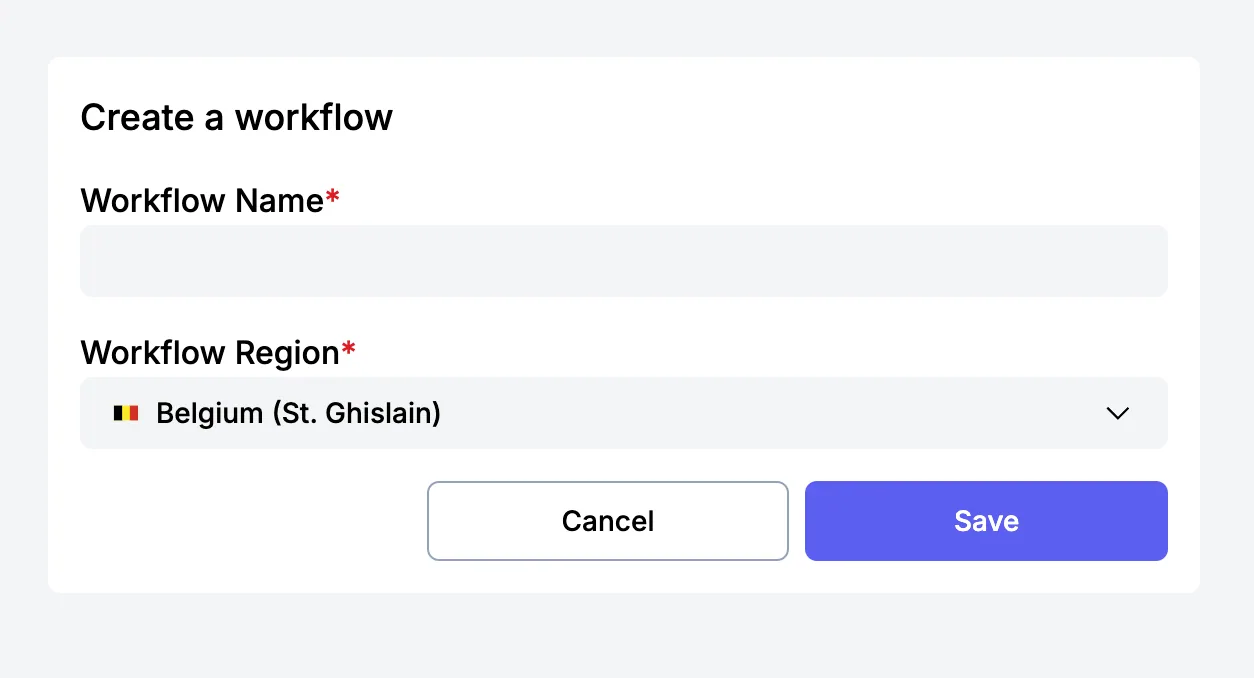
2. Create a workflow by adding a unique name and choosing the region.
We recommend you choose the region closest to you and / or the server(s) and service(s) the Workflow will be interacting with.
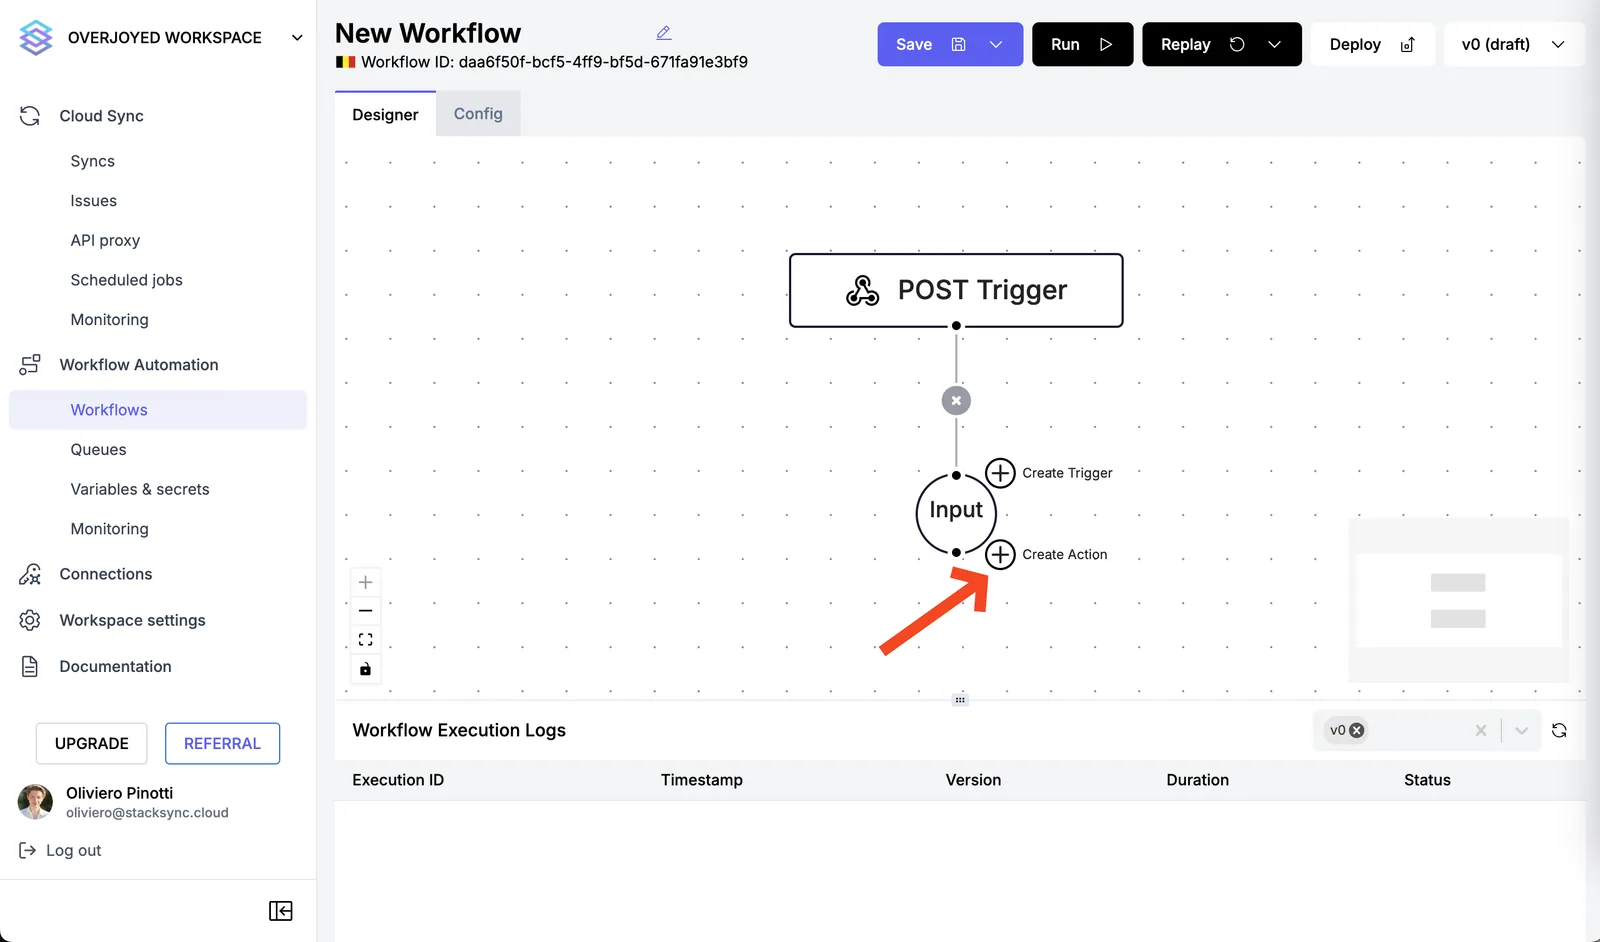
Once created you will see the Workflow designer with an empty workflow and a default POST Trigger. This trigger may be used to run your workflow from a terminal or through an API request.
3. Create your first action.
Click on the ➕ Icon to create a new action and you will see a menu with all of the currently available Action Modules.
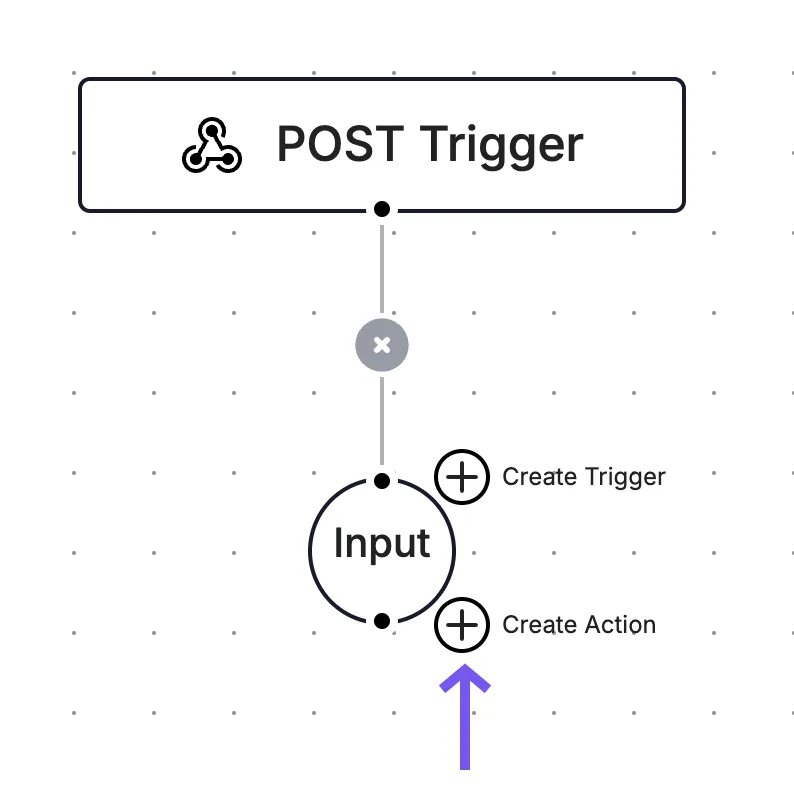 .
. 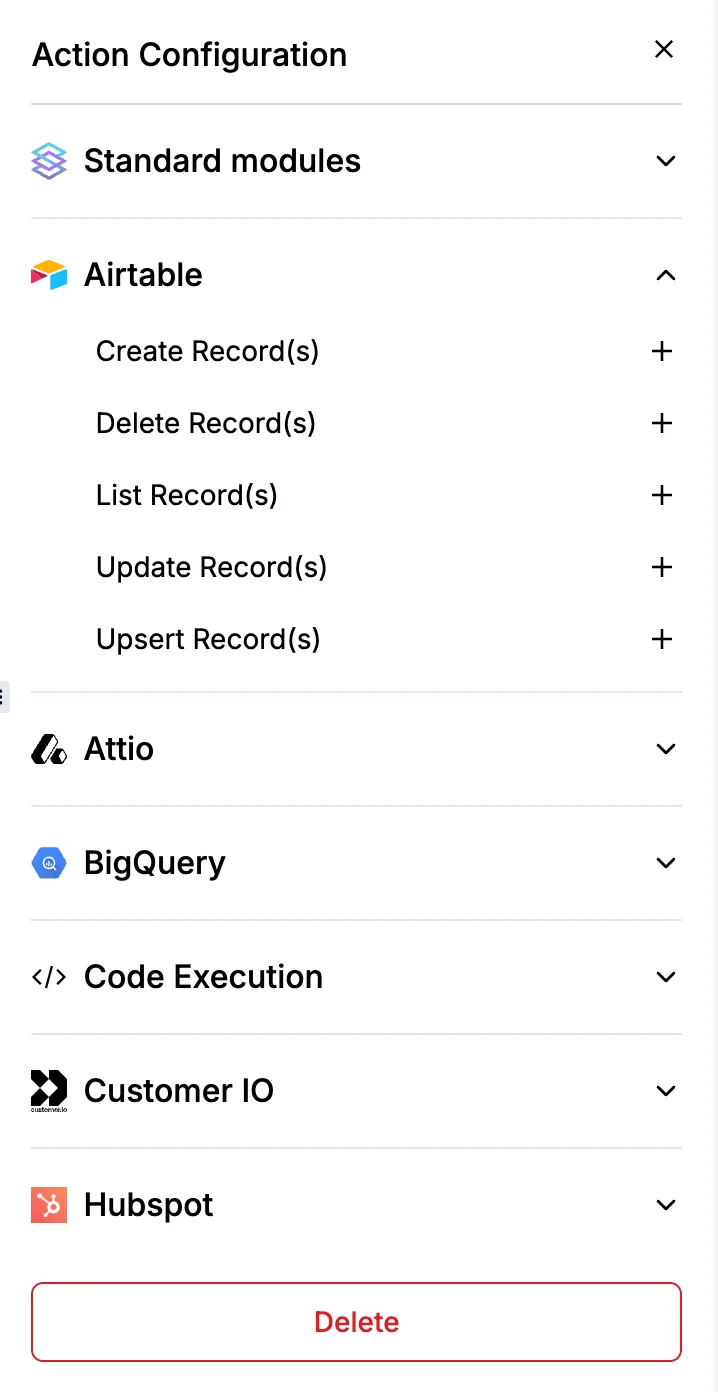
In this example we will be using the "Create Record(s)" module of Airtable. Stacksync allows you to create batches of records with one simple to use action.
4. Configure your action.
After having set a preferred Display Name for your Action, you will need to add a Connection. If you have currently have no connections simply click on "➕ Add New Connection".
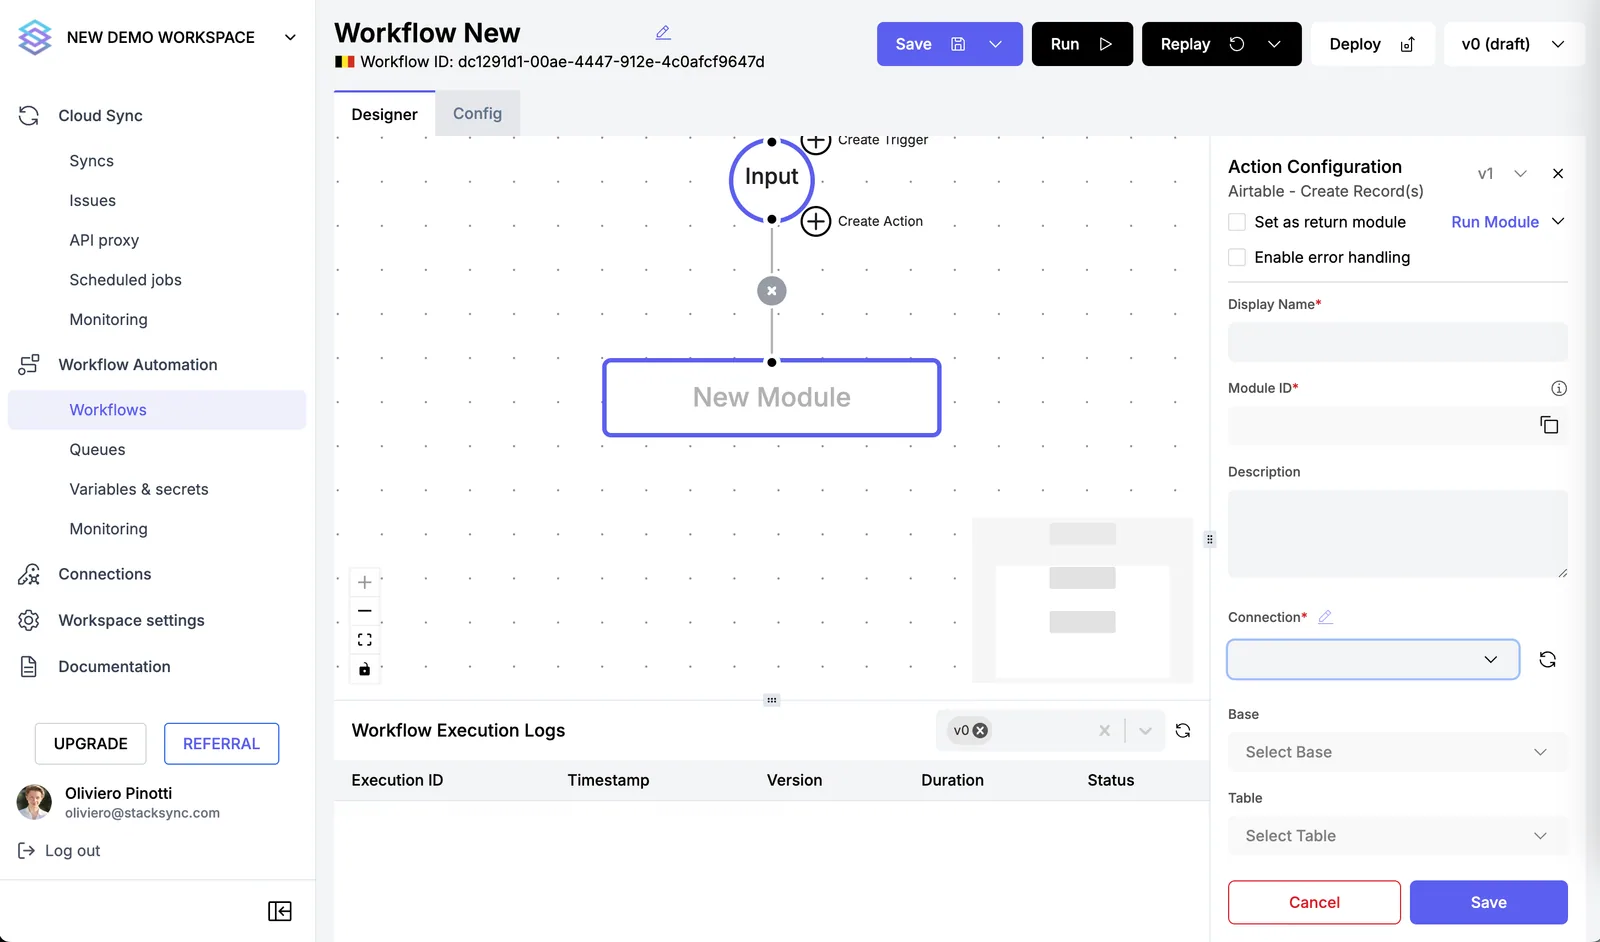
After clicking on "Add new connection" you'll be redirected to the page to Create a Connection.
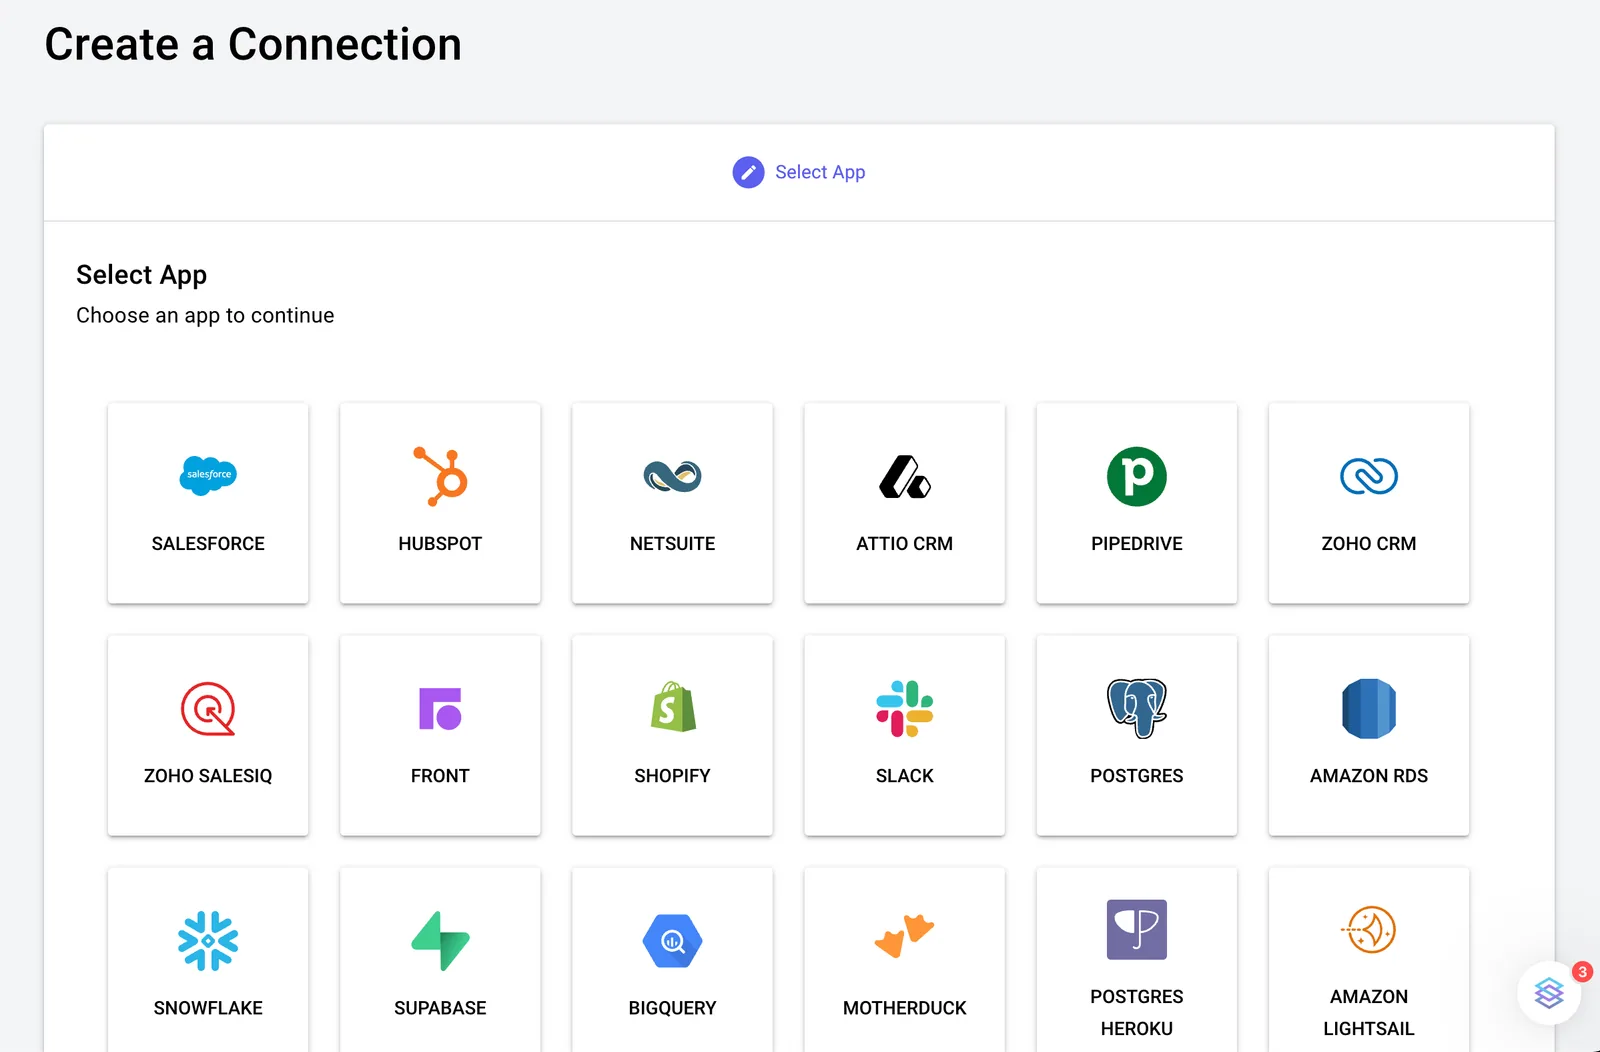
Follow the instructions to set up your connection.
Follow the instructions for your selected Application. Once you have finished adding your connection, go back to your Workflow's page.
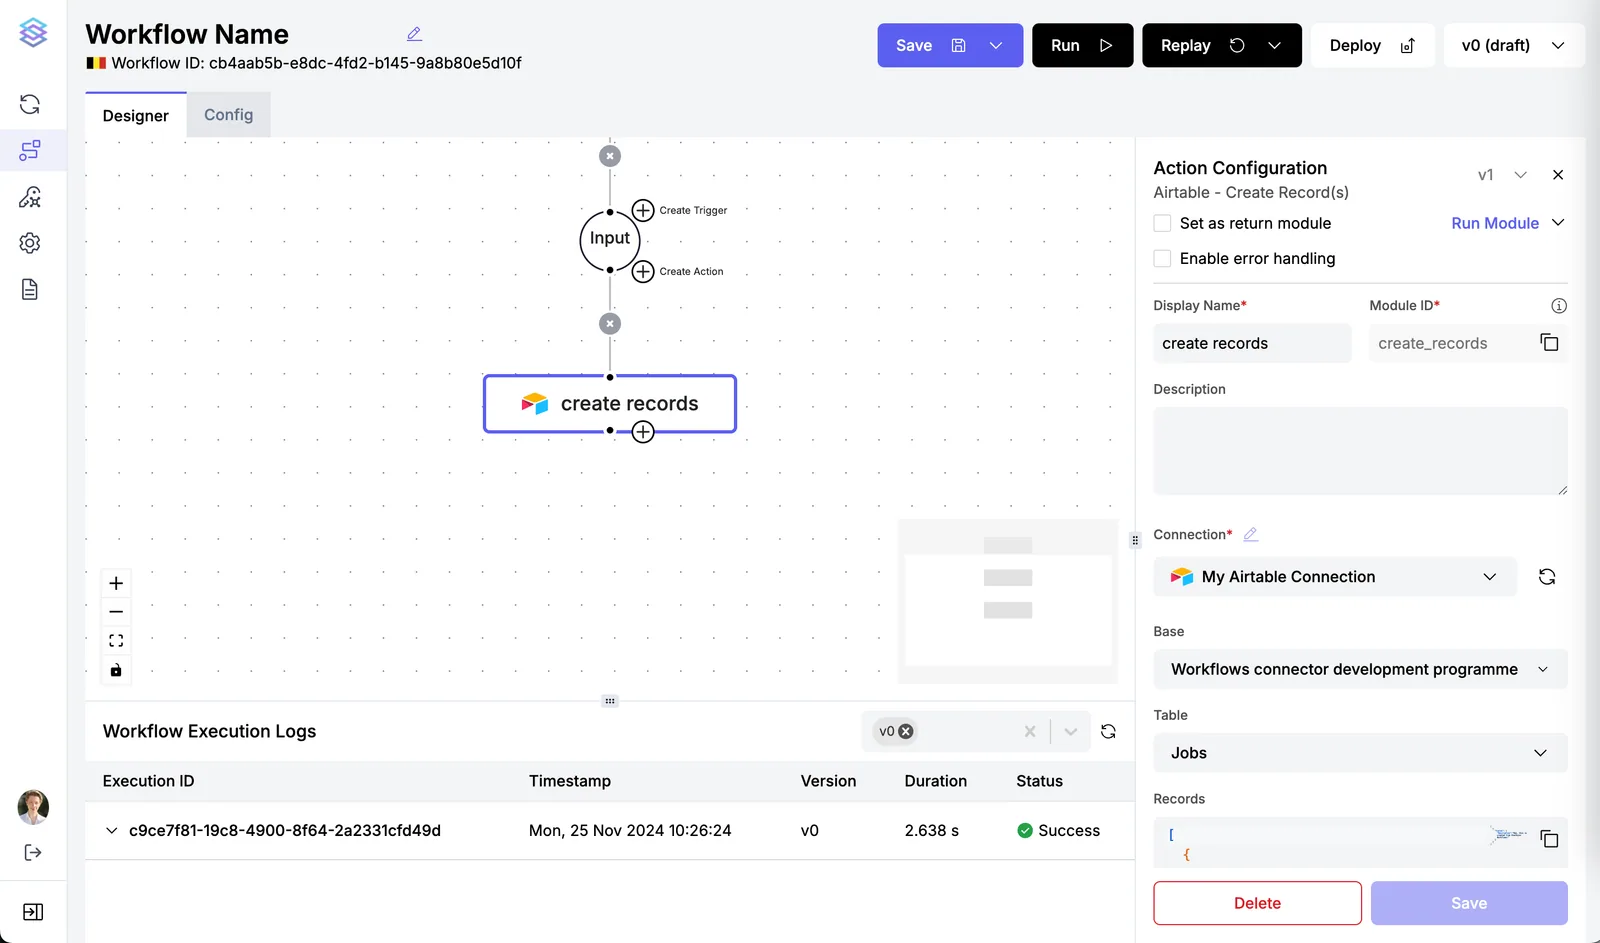
5. Run and Deploy your workflow!
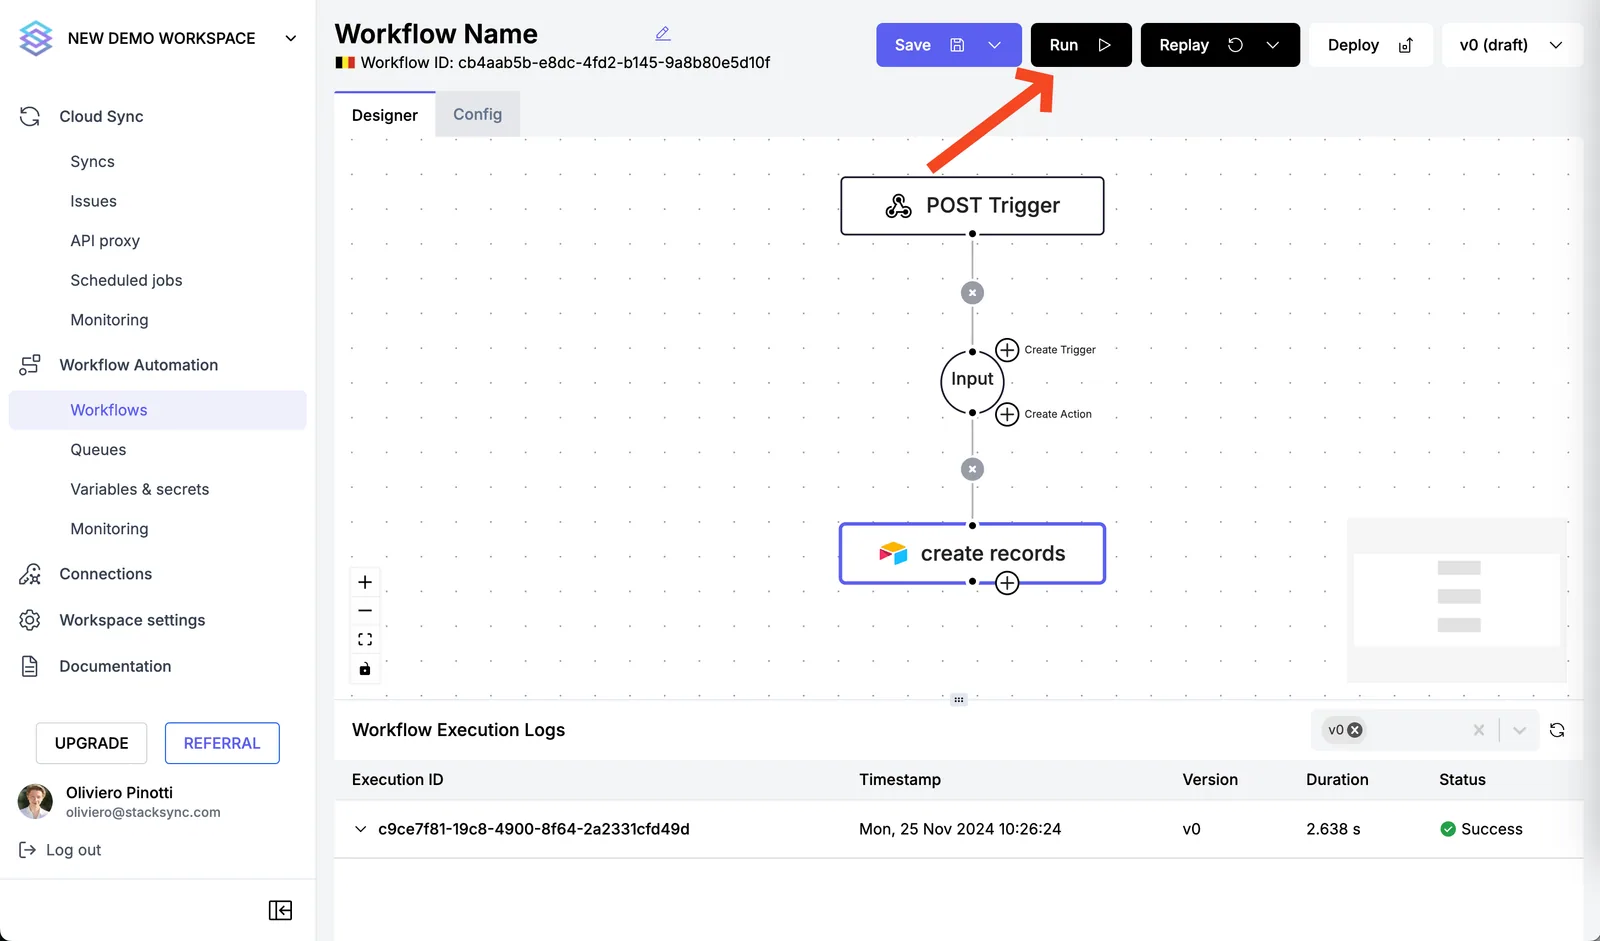

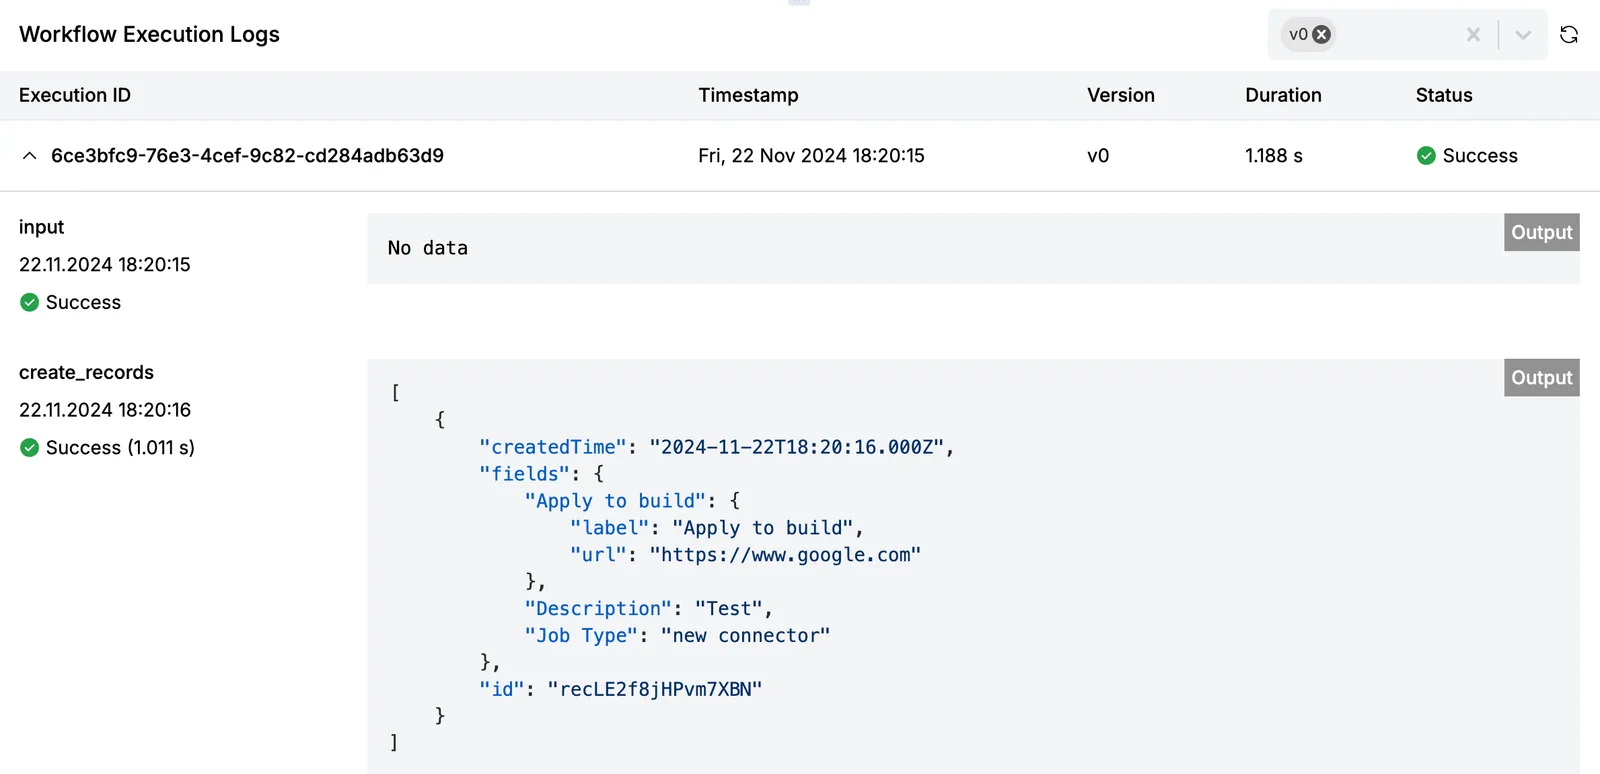
6. Monitor your execution logs.